Tureks Plumbing Services Blog: Posts Tagged ‘kitchen plumbing’

Kitchen Backsplash Trends To Consider For A Kitchen Upgrade

Tuesday, November 9th, 2021

Are You Considering a Kitchen Remodel? Here Are Trends In Kitchen Backsplash 2021

kitchen backsplash trendsPerhaps you’ve recently moved into an older home and want to make it truly your own by making a few changes. Alternatively, you may have updated some aspects of your home, making others appear obsolete. Making a new backsplash is an easy way to enhance your kitchen. What are the most recent kitchen backsplash trends? Our Kitchen Remodel Appleton WI professionals share below. 

Kitchen Trends In Kitchen Backsplash

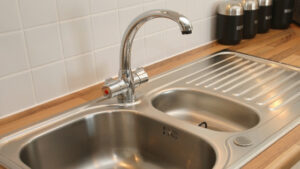
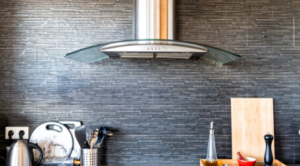
When it comes to kitchen backsplash, there are plenty of trendy and traditional materials you can choose from. To name a few, slate, granite, travertine and glass have been enjoying a fair amount of popularity among designers and homeowners in 2021. These materials are closely followed by wood and metal typically used as accents.

Our Appleton Kitchen remodel specialists share that tumbled stone backsplashes and anything with pastel hues have considerably lost their popularity in the kitchen design world.

Size and shape

Overall, larger ceramic tiles have become more popular for backsplashes. Many designers use tiles ranging 1″ X 3″ to 4″ X 12″. Some designers combine different tile shapes, colors and sizes for a more dramatic effect. You might also want to vary the depth of the materials used in your kitchen backsplash to add dynamism. Also, more and more designers are opting for vertical patterns over horizontal ones.

Using large tiles for small kitchens (and vice versa)

Can you use large tiles for the backsplash to make your small kitchen appear larger? It is possible to use large tiles to make your small kitchen larger but there are a lot of other things to consider. For one, you have to remove the clutter around your kitchen. Second, you need to use the tiles to create a horizontal line.

On the other hand, if your kitchen looks too big and you want to trim its size visually, you can use small tiles and colors.

Here, there is no single rule of thumb to follow. You can use large or small tiles no matter what the size of your kitchen is.

Matching the backsplash with other kitchen elements

The general consensus among designers is that the backsplash color should complement other elements in the kitchen including the cabinet, floor and countertop. That does not mean that you need to find an exact match. Rather, you should choose a color for the backsplash that complements the color of the other elements.

White subway tiles

Although white subway tiles remain a popular option among designers and their clients, many are veering away from these because of the basic look these offer. If you are leaning toward a more classic and clean look, you can use these tiles.

Similar materials for backsplash and countertop

A lot of designers avoid using the same materials for both as these can make the kitchen look overwhelming. It is possible to avoid this by using exotic stones.

Extending the backsplash up to the ceiling

If the wall where the backsplash is going to be placed has no wall cabinet, you can extend the tiles up to the ceiling, depending on your taste and the overall design of the kitchen.

Inspiration from Europe

One trend that is popular among Europeans is reducing the space allocated to wall cabinets, allowing the backsplash to take center stage. A lot of Europeans are also favoring the installation of tiles up to the ceiling because these are easier to clean and are more hygienic.

One good rule of thumb when choosing a backsplash color and design is to consider the kitchen lighting. The more natural light you have in your kitchen the darker you can go. If your kitchen is lacking in natural light, you will want to try and lighten up the space with lighter colors.

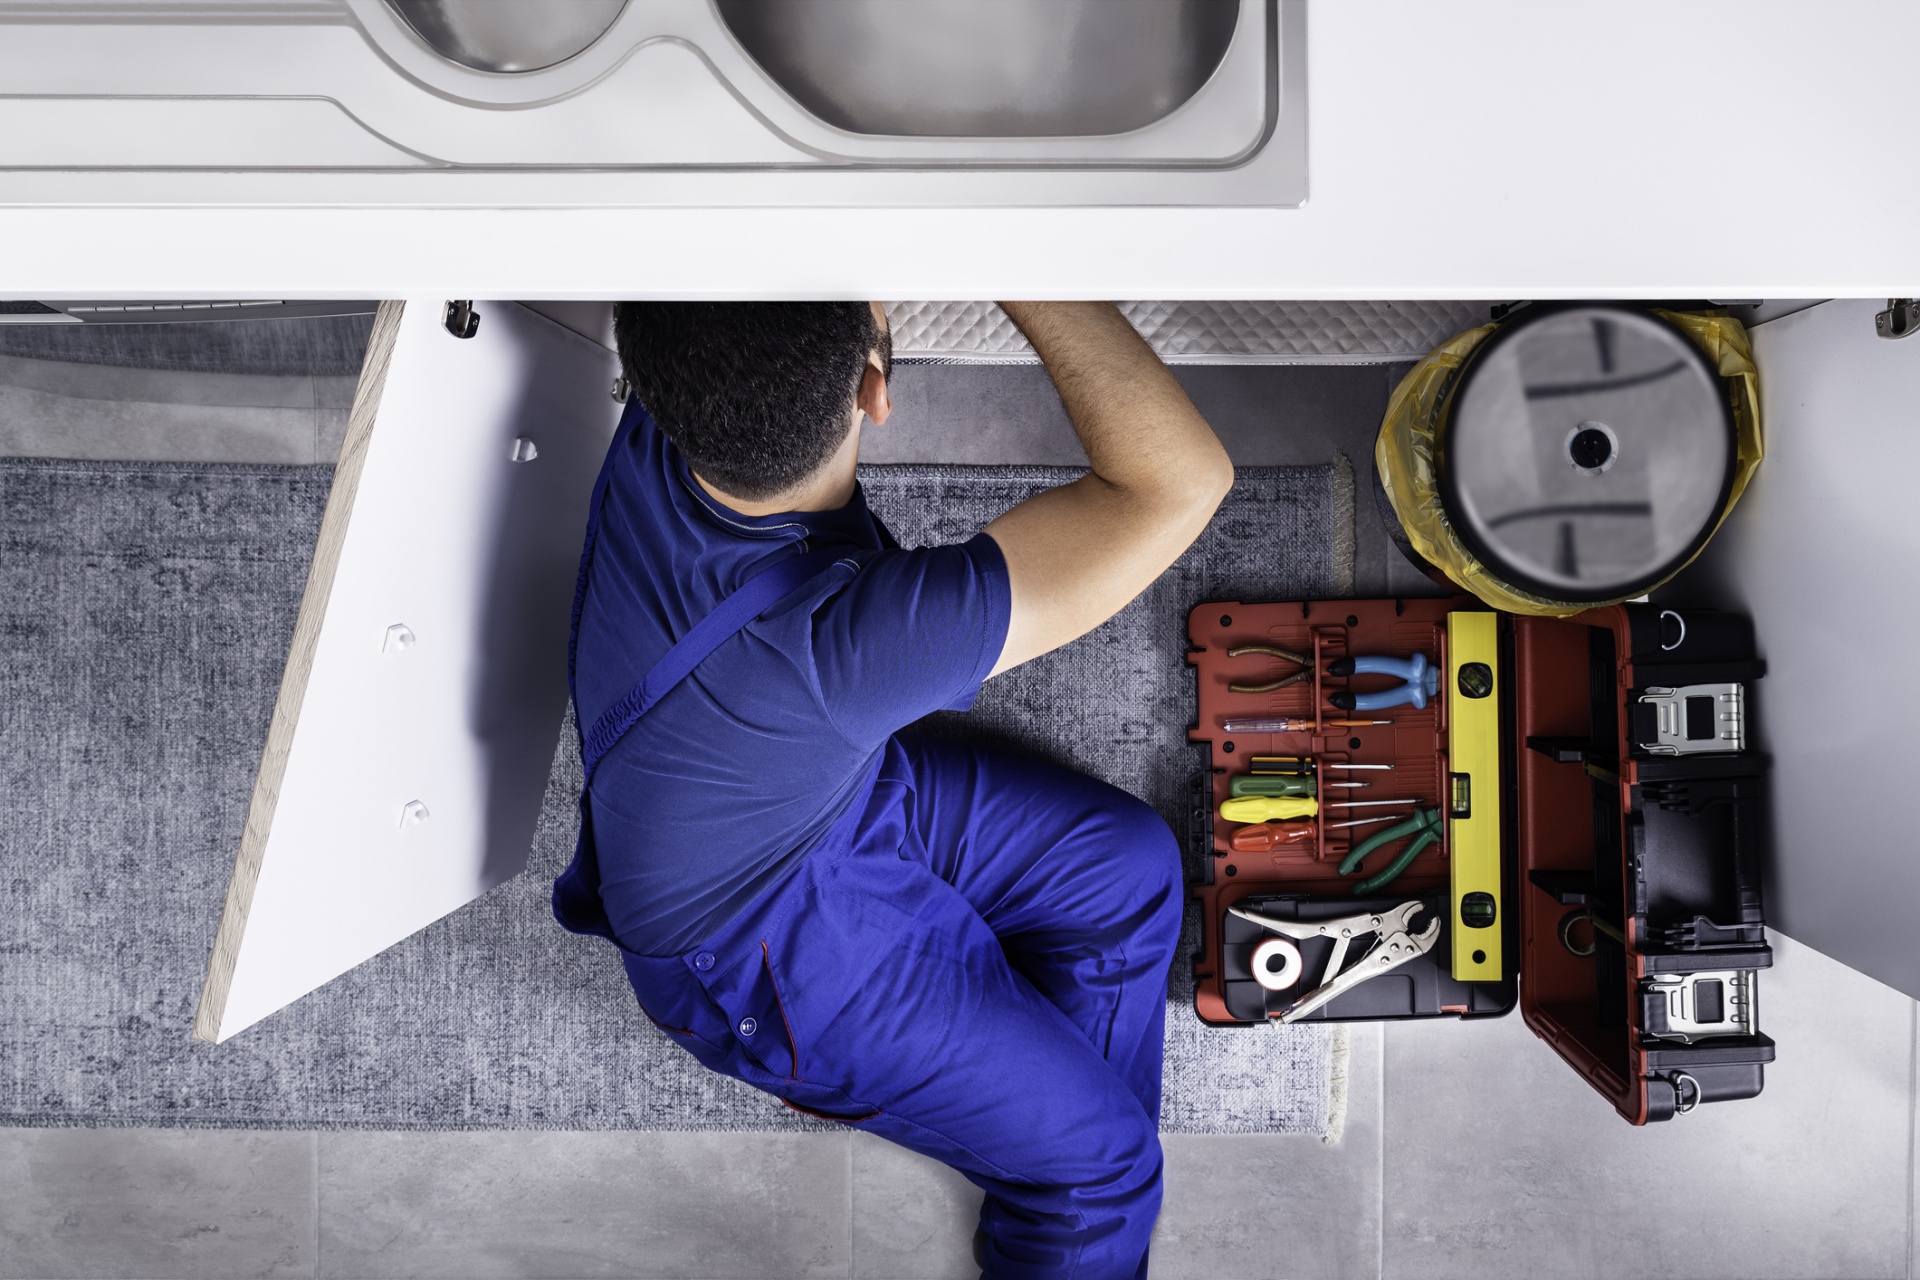
If you are considering a kitchen remodel, contact the remodel professionals at Turek’s Plumbing Services and let them help you start designing your beautiful new kitchen today!

Editor’s note: This post was originally published in July, 2016 and has been completely revamped and updated for accuracy and comprehensiveness.

Continue Reading

Kitchen Remodel Budget Mistakes to Avoid

Wednesday, August 18th, 2021

Kitchen Remodel Budget

Kitchen Remodel Budget Mistakes to Avoid in 2021

Kitchen remodels can offer significant ROI, when done right. If you’re not in love with your kitchen or are looking to sell in the near future, consider making some small upgrades. When you repair or switch old fixtures with modern models, you can increase the value of your property. Likewise, a few well-appointed innovations can increase the energy efficiency of your home, allowing you to reduce energy use and enjoy lower power and water bills in the long run. To ensure that you get the most bang for your buck, avoid making these common kitchen remodel mistakes. 

Remodeling Without a Plan

Take time to sit down and really think about what you want and need from your new kitchen. The biggest – and easily avoidable – expense you can face during a remodel is when you suddenly change your mind. So hire a home remodeling company to see what your new kitchen will look like in 3D. A rough sketch or some hazy description just won’t do. Our friends at Headwaters Construction Inc., who offers general contracting in Sacramento, say this can actually cause you to go over budget.

Not Checking Your Kitchen Contractor’s Credentials

The one thing you can do that will help you significantly reduce costs and avoid unnecessary expenses is to work only with the best contractors. Having a team of established professionals to work on your kitchen will allow you to have access to solutions that are customized to your needs and aligned with your budget. So before hiring anyone, do your homework first and contact the most reputable tradespeople you can find in your area. Our friends at Specialized AV, an audio and video company in Sacramento, recommends looking up your contractors license to ensure they are who they say they are.

Being blinded by “bright, shiny” things

A snazzy splashback, expensive countertops, chic sinks, or picture-perfect floors may make your kitchen impressive, but it’s not wise to simply consider a material’s looks or popularity alone. With research and expert advice, you can find alternatives that are not as overpriced, and may even be more durable or practical for your purposes. When budgeting, prioritize the basics: good lighting, efficiency, storage, and safety. Allot your funds first for items that will improve your kitchen’s function without hampering your style.

When improving your kitchen, remember to have a plan and stick to it. Remember the basics before splurging on the pretty things, and hire only the Fox Cities plumbing experts. With this game plan, you’ll soon have a kitchen that’s dreamy and purposeful at the same time. Contact Tureks Plumbing services for all of your home remodeling needs. 

Editor’s note: This post was originally published in September, 2016 and has been completely revamped and updated for accuracy and comprehensiveness.

Continue Reading

Tips For a Clean Garbage Disposal

Thursday, November 15th, 2018

Tips For a Clean Garbage Disposal

Five Simple Tips For a Clean Garbage Disposal

The garbage disposal is one of the most underrated home appliances in the kitchen. Not only does it allow you to get rid of food scrap, but it also does so in an efficient manner. As helpful as it is, it can also become a headache if you don’t take proper care of it. Our drain experts at Tureks Plumbing Services has 5 tips for you that will help keep your garbage disposal clean.

1. Cleaning the disposal

Cleaning a garbage disposal is fairly easy, which is why it’s puzzling why people don’t do it. You don’t have to do it every day, even once a week will work. The best part is, it barely requires any effort or time. All you have to do is grab a few ice cubes from your freezer, drop them in the disposal, and turn it on. By a few, we don’t mean fill up the disposal with ice cubes but throw in around 6-7 cubes, more if your disposal is bigger. You want to leave the disposal on until you can no longer hear the ice grinding.

The ice works its charm in cleaning the disposal of grease left behind from the food. The ice congeals any grease present and then the disposal easily breaks it up.

2. Deodorizing the disposal

The disposal is constantly exposed to food scraps and what not. In due time it will start to smell, stinking up the sink area. You should deodorize immediately after cleaning it. Deodorizing is as easy as cleaning it. You can take either lemon or orange peels and slowly grind them in the disposal. If you would rather not use peels, you can also pour lemon juice in the disposal. This refreshes it with a citrus smell and also helps fight grease build up inside.

3. Unclog the disposal

There will come a time when you end up disposing of something that you shouldn’t have and the disposal clogs. Before you call in the professionals, you can save a few bucks and try to fix it on your own. You want to start off by unplugging the disposal. If you don’t know how to do that, just shut the breaker to the disposal off, you don’t want an accident by taking any risk with it.

Next, you need to grab a broom and put the handle side inside the disposal. You will find an impeller, push against it until the chamber turns. If you can dislodge the item or just reach in and grab it. If you have any trouble, don’t panic. You can call a Fox Valley plumbing company to come and unclog the disposal.

4. Fighting Tough Grease

If cleaning the disposal with ice cubes and lemon/orange peel isn’t enough to get rid of the grease then you can try flushing it with cold water. Most people make the assumption that hot water would work better, but it doesn’t. The cold water will solidify the grease making it easier to flush. Rather than flushing it down the pipe, which can mean it gets stuck in the pipe, you can flush it into a can and dispose of it.

5. Maintaining the disposal

One simple trick to maintain the disposal so it doesn’t grease or clog is to let the water run through it after you’ve used it. This ensures that no food particle or grease sticks around to cause any problems later on. Whatever you do, do not use any corrosive chemicals like drain cleaners in the disposal cause these cause more harm than good.

Maintaining and keeping your garbage disposal installation clean is important for it to function well. The methods listed in our tips barely take any time so you should easily be able to do it once a week. Otherwise, you may end up damaging it and having to pay quite a lot for repairs and proper cleaning from an expert.

Continue Reading

Causes of Leaking Garbage Disposal

Tuesday, July 25th, 2017

Fixing the 2 Most Common Causes of Leaking Garbage Disposal

A leaking garbage disposal system does not necessarily translate to a massive hole in your pocket. Leaks can occur from time to time and in some instances, you do not have to spend a small fortune to remedy these problems.

Here’s a brief rundown of two of the most common causes of leaks and what you can do about these.

Gasket

Check your garbage disposal system and determine where exactly the leak is coming from. If the leak is coming from the top rim where the rubber seal and the flange meet, it is highly likely that the cause of the leak is the gasket which can be found on top of the system.

Over time, the rubber gasket breaks down. In some cases, if the garbage disposal system is not used for an extended period of time, the gasket can dry up, causing leaks. Sometimes, the gasket causes leaks if it is replaced unevenly. Finally, if you dismantle the system for whatever reason, it is a good idea to replace the gasket.

Fortunately, if the gasket is the cause of the leak, it can be easily replaced. Just make sure that you purchase the right gasket for your garbage disposal system.

After you have bought the correct gasket, the first thing that you need to do to replace the old one is to disconnect the drain. After that, you can unplug the cord. Make sure that you remove the dishwasher drain hose from the system.

Next, hold the sides of the mounting nuts and turn these counter clockwise. This will unlock the garbage disposal system.

The next step that you need to do is to remove the old gasket and put the new one that you bought. Check whether the new gasket fits properly.  After that, you can replace the garbage disposal system and reconnect the drains and plug.

Disposal flange

If the leak comes from the upper area of the garbage disposal system, the possible source of the leak is the disposal flange.

The flange can leak if the seal is not tight enough or has become loose. In either case, you will need to dismantle the system so that you can reseal the flange.

After dropping the garbage disposal unit, you will need to loosen the bolts that hold the flange in place. Next, find the clip that holds the flange in place by using a flat screwdriver to pop it out of place. Then, remove the top flange from the sink. You should then clean the sink before reinstalling the system and applying putty.

In applying plumber’s putty, make sure that you apply an even amount. You should also make sure that the putty wraps around the rim of the flange. After that, you can put the flange into its original position and replace the bottom flange. Replace the screws tightly and then you can clean the area where you worked. And schedule your appointment with us today!

Continue Reading

Farmhouse Sink: Trendy or Timeless?

Friday, July 21st, 2017
Is the farmhouse sink trendy or timeless? Although still largely seen as traditional, the farmhouse has quickly become a popular fixture in modern homes as well.

This short guide will show you how this rustic sink has evolved through time. If you are planning to renovate your kitchen anytime soon, the list of pros and cons may help you decide whether it is worth buying or not.

Form and Function

The farmhouse sink is characterized by the deep design of its basin. Sometimes known as apron-front sinks, these kitchen fixtures were designed to hold copious amounts of water and wash large cooking tools. The basin is so deep that you can bathe a baby in it.

Farmhouse Sink Installation

A typical farmhouse sink is installed with the apron protruding beyond the cabinets below it. This design feature is meant to protect the cabinets. If the water starts to overflow, the liquid will fall straight to the floor instead of damaging the cabinets beneath the sink.
The width and depth of a farmhouse sink offers homeowners ample space for washing dishes and kitchen tools. On the other hand, farmhouse sinks are also bulky. Standard sinks weigh around 20 to 30 pounds while an apron-front type may weigh up to 100 pounds. If you intend to replace your standard sink with a farmhouse one, you will need to find a way to reinforce the supports around the sink.
Farmhouse sinks don’t come with holes for faucets. As a result, the faucet needs to be installed on the wall or counter. On the upside, if the sink ever gets damaged, you can take it out without the need to turn off the water mains. However, you will also need to pick the right type of faucet to go with your country style sink.

Materials

Farmhouse sinks were traditionally made out of porcelain or fireclay. During the 1920s, sinks forged out of cast iron, copper and nickel alloy became popular. Nowadays, you can find farmhouse sinks made out of stainless steel, concrete and stone as well. Farmhouse sinks also come in a wide range of available styles and textures to suit varying design needs.

Price

Finally, going for a specific style can be expensive. With farmhouse sinks, expect to pay hundreds of dollars more than your standard type. Plus, you will need to consider the installation cost and other fees. Make sure to explore these expenses carefully before making your decision.

Continue Reading

Attracting home buyers with a beautiful kitchen

Tuesday, June 20th, 2017

How to Prep Your Kitchen for Resale

To have an easier and faster time selling your home at the price you’re looking for, you need to invest some additional money and time to make it attractive for potential buyers. However, you can’t just focus on improving certain areas or features of your home; to catch the attention and interest of buyers, you need to make sure all the rooms are appealing and devoid of any issues or problems.

A key area of your house you have to pay attention to is the kitchen. This is one of the areas in a home that matters a lot to many interested buyers since it is highly likely they will spend a lot of time in this room.

If you will be putting your home in the market, here are some useful tips to successfully prep your kitchen for resale without shelling out a huge amount of cash:

Clean your kitchen.

Give your kitchen a good scrubbing and wipe-down. Vacuum the areas which you never used to clean before such as the spots behind the stove and refrigerator. Get rid of any clutter in the kitchen as well such as old cookbooks and food containers you never use. Make sure your kitchen is free from unpleasant smells such as the ones emanating from the garbage. Remove all garbage, recycling, and smelly pet-related items before showing your home. Keep in mind that nothing turns off a potential buyer faster than a bad smell.

If you don’t have the time to properly clean your kitchen, hire cleaning professionals to do the job for you. They will make sure your kitchen is sparkling clean and nice-smelling, too.

Make sure your kitchen faucets and plumbing system are working properly.

While cleaning the kitchen sink, check the faucet and pipes for leaks and clean these features as well. In case the water pressure is low or water leaks from the handle of your faucet, take the time to clean your faucet’s aerator. You can also remove lime or calcium buildup in the faucet by removing the aerator and using vinegar as a cleaning agent. In case there are leaks or you simply want to have the faucets and pipes replaced, it is best to call a professional plumber to avoid any further damage to your kitchen’s plumbing system.

Organize your kitchen cupboards and cabinets.

Interested buyers will take the time to look inside your cabinets and cupboards. If these storage features are overstuffed, it usually gives the impression that there isn’t enough storage space in your kitchen. As such, remove all excess and mismatched items and anything that simply doesn’t look good – even if you think you’ve hidden them well.

Make sure the kitchen windows are clean and clear.

Clean the kitchen windows inside and out. You will be surprised at the effect that clean windows can have on your kitchen (and in any room), especially during a sunny day. In case there are curtains or other types of treatments covering your windows, make sure they are clean as well or open them when you are showing your kitchen.

Consider having your kitchen painted.

Finally, aside from cleaning, giving your kitchen a new coat of paint will give it a new, crisp look. Consider having your kitchen painted in a hue that works with the color of your counters and cabinets. You can always stick with white if you don’t want to experiment with colors. In case your kitchen was recently painted, examine the walls and ceiling and touch up any flaws, even the smallest ones. Call Tureks plumbing today to help rebuild your kitchen!

Continue Reading

Tips on Adding a New Kitchen Island

Wednesday, June 14th, 2017

Adding a Kitchen Island

Remodeling your kitchen can be a very exciting home improvement project. This is because most of the features you will want to have in this room have to be both functional and aesthetically appealing. As such, you will have to be a bit more thoughtful and creative when you want to improve your kitchen.

Adding a kitchen island is one of the smart kitchen renovation ideas you can consider today. A kitchen island is a very practical, convenient, and handy feature to have in the kitchen. This modern kitchen feature provides several benefits, which include:

  • It provides additional work space in the kitchen
  • It permits people to sit and eat in the kitchen without anyone getting in the way of the person working in the room
  • It removes the need for a table in the kitchen
  • Lastly, it can serve as the focal point or feature in the kitchen, mainly because of its position in the middle of the room. When it is designed properly, guests will definitely be impressed by this feature

Initial Considerations When Choosing a New Kitchen Island

Once you have decided that a kitchen island is the best (and smartest) new feature to have, you need to think about certain important factors to make sure you get the ideal one for your home. These key factors are:

Kitchen Island Size.

Your kitchen island should be the right size for your kitchen space. It has to be big enough to double as your working and dining space but not so large that people will have trouble walking, cooking, and moving around once it is installed. A good rule of thumb to remember when having a kitchen island installed is to ensure that there should be at least 36 inches of clearance on all sides of the fixture.

Shape.

When choosing which shape to go for, consider the size of your kitchen and the primary use of the island. Aim for a shape that works with the current design of your kitchen and one that is convenient for you and everyone who will regularly use it.

The island’s countertop material 

Kitchen islands can be made of different materials; it’s the same with the countertop. Some of the most popular countertop materials today include wood, granite, marble, quartz, and soapstone. When choosing the material, consider the other fixtures in your home so that it doesn’t clash with the current design. Opt for a material that is durable, long-lasting and low maintenance as well. Lastly, consider the size of your doorway because if the countertop is too big, you will have a hard (and even impossible) time to get it inside the kitchen.

Features and amenities.

Lastly, determine how many drawers and cabinets you want the island to have. Keep in mind that the kitchen island is the perfect way for you to add features to your kitchen that is lacking, such as drawers, or other things that will make your life just a little bit easier, such as hooks for hanging towels or even a built-in microwave. To ensure your island is amenable to seating, consider the type of stools or chairs you plan to use and make sure the feature can accommodate the proper height and legroom requirements. Schedule an appointment with us today!

Continue Reading

Why Are My Drains Bubbling?

Tuesday, May 23rd, 2017

Bubbling toilets or drains explained

Whenever you use the bathroom to take care of your personal hygiene, the only sounds you would want to hear are the ones you make as you move around — the sudden rush of water as you turn on the tap, the toilet flushing, water going down the drain. If your body pipes up as well — such as your stomach rumbling thanks to the heavy meal you had earlier — that would be expected, and thus totally fine, too.

What you don’t want to hear, however, is a gurgling noise coming from various areas of the bathroom. If you hear this gurgling or bubbling noise after you use the shower, sink, or the toilet, it could mean trouble — and it’s something that you shouldn’t ignore.

Why are my drains bubbling? Here are possible answers to this question:

·         There is a blockage in your vent pipe or drain

·         A pipe may have collapsed or gotten damaged

·         There is a buildup of grease dirt or other debris in your home’s plumbing

Vent pipes are joined to the major pipes that make up your home’s plumbing. These typically end at the roof of your house. If a vent pipe is blocked by things such as accumulated dirt or debris coming from outside your house such as dead leaves, these gurgling noises indicate that air cannot escape through the vent. Instead, the air makes its way to the nearest available opening, which could be the sink in your bathroom.

If the problem is buildup in your plumbing, it means that water cannot drain properly. Typically, both water and air flow through the drain and then escape the pipes through their respective spots. When the pipes are dirty and blocked, however, the air bubbles will end up getting expelled at the nearest vent, which results in the bubbling noise.

Keep in mind, though, that if you hear the gurgling noise in every drain you can find throughout the house, then it is an indication of a much bigger blockage in the main plumbing pipe, and not in the smaller pipes attached to the drains.

How can these blocks — and consequently, the gurgling sounds — be prevented?

There are a number of things that everyone in the household can do to keep your home’s pipes free and clear:

·         Refrain from pouring or throwing anything down the drain that could cause buildup — this could be grease, hair strands, food particles, and other physical waste.

·         If the buildup already exists, you can try using chemical solutions to clean out the pipes. Make sure to use the product as directed so that they can work as intended. Also, remember to follow safety precautions when handling the chemicals.

·         Alternatively, an auger can be used to manually unclog the pipes. With sufficient force, any buildup can be broken up, but take care not to cause damage to the pipes and cause additional leaking problems.

If you’re unsure about how to perform these properly, there’s always the option of getting in touch with the plumbing specialists in your area. These professionals will know exactly how to diagnose and resolve your plumbing problems and get rid of that troublesome gurgling noise once and for all.

Continue Reading

Common Plumbing Problems In Older Homes

Thursday, April 27th, 2017

Even in today’s digital age, many people are still looking to buy older homes. But often, these buyers are only looking at the surface of the house.

It’s important to look beyond what you can easily see — for instance, check the pipes.

Galvanized Pipes

Plenty of older homes have galvanized piping. A galvanized pipe is made of steel covered with a layer of zinc to protect it. But the zinc erodes from the piping over time, which causes the pipes to fail from the inside. In turn, this leads to different problems like stopped-up toilets and faucets and low water pressure. Sediment will fill the pipes as they corrode, thereby blocking water flow.

Concrete or Cast Iron Pipes

Some older homes have these kinds of pipes. Concrete pipes won’t deteriorate; however, they will shift and move under the home’s foundation. Cast iron pipes, on the other hand, will deteriorate over time just like the galvanized pipes but can eventually disappear.

Lead Pipes

These pipes have a lifespan of a century. Although they wear well, they may leak lead into the drinking water, causing serious health conditions to households.

Copper Pipes

These can be too pricey for home plumbing, but copper pipes are reliable and durable since they are not prone to leaking.

What else to look for?

Thoroughly check the components attached to pipes, water heaters, drains, and other plumbing systems regularly. When they are not maintained properly, huge problems can happen.

A valve on a line might look normal but it may not work well. Just because it is not leaking does not necessarily mean that there’s no problem with it.

How to Manage Plumbing Issues in Older Homes

  • Determine what kind of pipes were installed – Whether the property has copper, galvanized or concrete pipes, let a licensed plumber inspect it. This professional knows if the pipes are still fully functional or already need replacement.
  • Have a professional check the foundation of the property – Aside from the deteriorating pipes, it is also possible that tree roots have strangled the property’s sewer lines. To prevent costly future repairs, ask a certified professional to check the foundation of the sewer lines and septic systems of the property.
  • Renovate – This is the last resort in managing plumbing issues in older homes. Replace the older pipes with new plumbing systems. Also, replace or repair the property’s water lines, drains, vents, and sewer lines.

Prior to buying a house, it’s always best to know and understand the common plumbing problems in older homes. Also, you should have a professional plumber evaluate the property’s current plumbing condition – which is why you should call us today!

Continue Reading

When To Replace Your Hot Water Heater

Tuesday, April 11th, 2017

Once you have a water heater installed, you can rely on this piece of equipment to give you hot or temperate water whenever you need to take a bath.

But although you can expect this system to give you years and years of comfortable baths, there will come a time when it will stop working properly. And if you don’t want to be unexpectedly drenched in freezing water on a particularly cold morning, you need to know when to replace your hot water heater so that you can avoid such an uncomfortable, shocking situation.

There are certain signs that would indicate that you need to replace your water heater immediately. These include the following:

Your heater is already more than 10 years old.

Most water heaters last between 10 and 15 years. Once your system passes the 10-year mark, you will start encountering issues every now and then and you will soon find yourself spending a lot of money on repairs. Unfortunately, having your heater repaired regularly only delays the inevitable. You would do well to put all that money on a new heater.

Recurring loud, unusual noises.

As the years go by, sediment will build up in your water heater tank. You will soon hear banging or rumbling sounds from your heater due to the obstruction inside the tank.  Although a plumber will be able to remove small amounts of buildup, there will come a time when the sediment will harden and this will become too difficult to take out. Aside from causing loud noises, this hard sediment may make your heater inefficient.

Excessive leaks.

The presence of puddles of water around the heater or water seeping down the sides of the heater are usually signs that the water heater tank may be fractured. If this is the case, you will have no choice but to replace the heater to get rid of the existing leaks and prevent any further damage.

Rust around the fittings.

If the fittings around your water heater are corroded, or look rusted or worn down, this may indicate that there is an issue with the unit as a whole. Corrosion is even more likely if the leaks appear around the valves or the pipework. A professional plumber can help you decide whether it will be worth your while and your money to have the issue fixed by replacing the damaged part or if it is best to simply replace your heater with a new one.

It is producing less hot water.

Lastly, if you start noticing that there is a lack of hot water coming from your heater even if you play with the settings, this is usually a sign that your equipment is no longer working efficiently. This is especially true if you observe a sudden decrease in the amount of hot water or that your hot water never seems to get hotter than lukewarm.

You don’t have to immediately buy a new heater if you notice that your current one is starting to act up. A plumber will be able to help you decide if an old heater is worth repairing or if it is best to buy a new one. Call us today to set up an appointment!

Continue Reading